Create a homemade gift in 8 simple steps.
Gifts from the heart are the best! If you’re new to the Sharpie Mug phenomenon, it’s simple and you’ll have a lot of fun creating one-of-a-kind mugs for the people you love. Faze wants to let you in on our tips and tricks for your DIY Mugs.
You’ll need:
-Sharpies
-a mug
-an oven
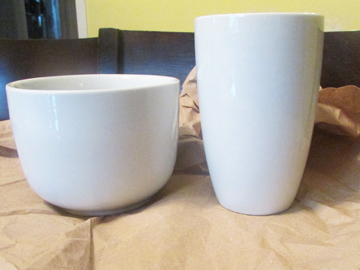
1. Purchase a plain, non-glazed mug. A high glazed mug won’t allow the markers to meld with the mug – so the cheaper the mug the better!
2. Wash your mug to get rid of any oil residue.
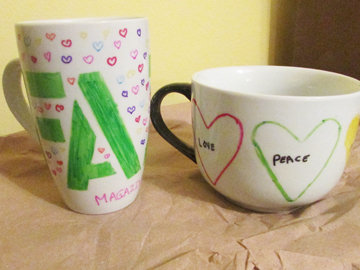
3. If you’re going to write on your mug, we’d suggest using painter’s tape because of the curvy surface. If you’re going to draw, we hope you have a steady hand! Luckily, if you make a mistake, you can easily erase it with a Q-Tip dipped in rubbing alcohol.
4. Once you’re done, we recommend letting it sit for 24 hours before baking it.
5. Time to make it permanent! Place your mug in the oven while it warms up to 425 degrees Fahrenheit. The mug needs to be in the oven before you turn it on so that it slowly heats with the oven to prevent cracking.
6. Depending on your oven and mug, you can leave it in the oven for 30 minutes at 425 degrees (Fahrenheit). Check periodically so that your mug doesn’t turn brown.
7. Once the timer goes off, you can turn off the oven, but don’t remove your mug! The quick temperature change might cause your mug to crack.
8. When the oven has cooled down completely, you can remove your mug. Test it by running a wet napkin over a part of the colour. If it smudges, it’s time for round two in the oven. If it doesn’t smudge, you’re done!
Congrats on your DIY Sharpie mug!
Share your DIY Mugs with us on Twitter, Facebook and Instagram.
What Do You Think? Leave A Comment!